Guide 1
What to check before you go
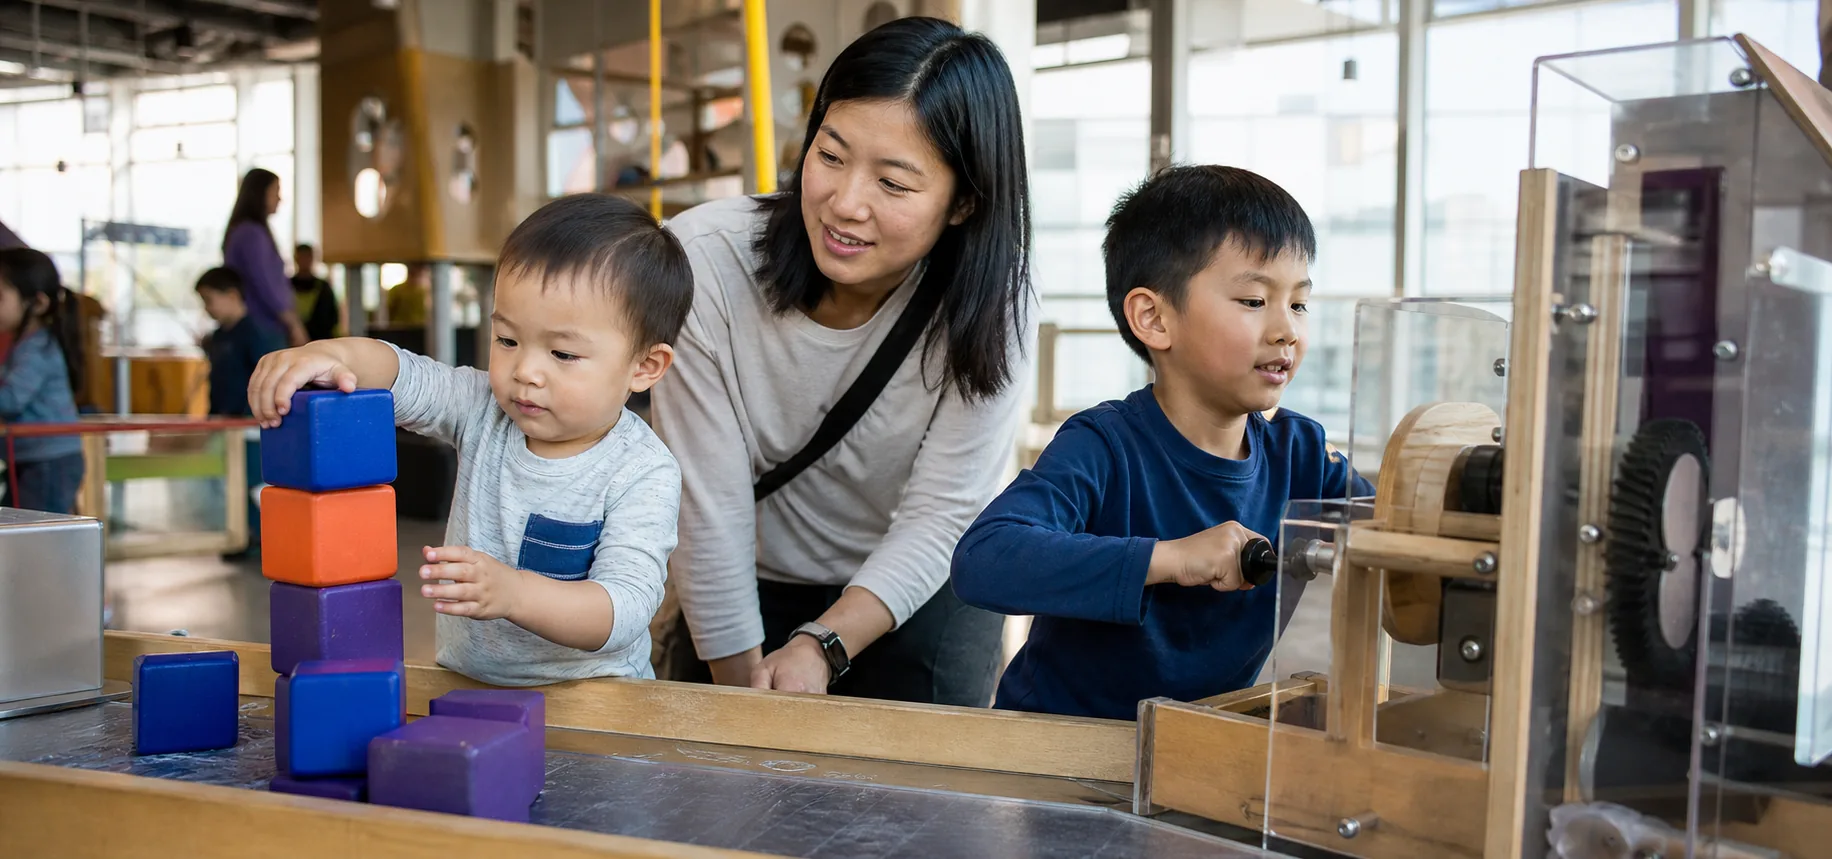
Children’s museums work best when children can touch, build, pretend, move, and repeat an activity without sitting through long explanations. Before you pick one, look for age guidance, a floor map, a toddler or baby zone, sensory information, ticket rules, parking, food policy, and current hours.
Plan the first room before you leave. For young children, sixty to ninety minutes may be the whole visit.
Leave room for a snack, a bathroom stop, and an early exit.
Quick checks
- Read the age guidance and floor map.
- Check baby or toddler zones and sensory information.
- Confirm ticket rules, parking, food, and current hours.
Guide 2
Check the age fit room by room
“For children” is too broad to tell you whether the museum fits. A one-year-old may need a protected floor, a water table, a low mirror, soft blocks, and space away from running school-age children.
A three-year-old may stay with a pretend grocery store, train table, construction zone, or simple art station. A seven-year-old may want a building challenge, a science experiment, a maker area, or an exhibit with a problem to solve.
Read the actual exhibit descriptions. If most activities require reading, waiting for a staff demonstration, or reaching high controls, it may be a better fit later.
For mixed ages, find two rooms close together or one exhibit with more than one level of difficulty.
Quick checks
- Match the actual exhibit to your child’s current stage.
- Check reading, waiting, and control height before buying tickets.
- For mixed ages, look for two nearby rooms or one multi-level exhibit.
Guide 3
Small museum or big museum?
A smaller museum can be easier for a first visit, a toddler, or a low-energy morning because there are fewer transitions and the exit is closer. A larger museum works better when you have time for a half day, need food on site, or have mixed-age children who need different rooms.
Bigger is only useful when the family can manage the walking, crowds, and transitions.
Quick checks
- Choose small when you want fewer transitions and an easy exit.
- Choose large when several age zones and food make the longer visit easier.
- Do not pay for more building than the family can use today.
Best options by situation
| Situation | Best option | Why it works | Watch out for |
|---|---|---|---|
| Toddler’s first museum | Small museum or one-floor children’s area | Fewer transitions and an easier exit | Limited baby space or short hours |
| Half-day family outing | Larger museum with food and several age zones | More options without changing locations | Walking, crowds, and overstimulation |
| Mixed-age siblings | Clearly separated age areas near each other | Each child gets one useful section | Adults may need to split up |
| Low-energy morning | One favorite exhibit and a snack plan | The visit has a simple stopping point | Paying full price for a short visit |
| Sensory-sensitive child | Sensory map, quiet space, or low-sensory session | You can plan breaks before arriving | Special sessions may still have groups and sound |
| Tight budget | Free day, library museum pass, or reduced-admission program | It lowers the cost of trying a short visit | Registration, eligibility, and capacity |
Guide 4
Work out the real price
Check whether adults pay, whether children under a certain age enter free, whether parking costs extra, and whether timed tickets are required. Add locker, coat check, food, and any special-exhibit fee before you compare two museums.
Some libraries lend museum passes. Some museums run community free days.
Museums for All offers reduced admission at participating museums for eligible visitors with SNAP EBT, but each museum sets its own details. Confirm eligibility, identification, guest limits, and the ticket process on the museum’s official page.
A membership can make sense when the museum is close, your child has one favorite room, and you would use short repeat visits. Do not buy a membership just to make the first visit feel worth the ticket price.
Quick checks
- Add adult tickets, parking, food, and special-exhibit fees.
- Check library passes, free days, and reduced-admission programs.
- Only consider membership when short repeat visits are realistic.
Guide 5
Plan the first hour
Choose the first exhibit before you leave home. Start with the activity most likely to hold your child, not the room closest to the gift shop.
Go straight to the toddler area or favorite hands-on room. Stay while they are engaged instead of rushing every station.
Take a bathroom, water, or snack break. Choose one second room only if the family still has energy, and leave before the gift shop becomes the final argument.
If the museum allows re-entry, the car or an outdoor courtyard can be a useful break. Confirm re-entry before you depend on it.
Quick checks
- Choose the first exhibit before leaving home.
- Use a bathroom, water, or snack break before adding a second room.
- Confirm re-entry if you plan to use the car or courtyard for a break.
Guide 6
Noise, crowds, and sensory support
Children’s museums can be loud. Hard floors, water pumps, air tubes, music, school groups, and excited children add up.
Look for a sensory map, visual story, quiet room, headphones, or low-sensory hours. Read what each support actually includes.
A sensory-friendly session may lower lights or sound without making the museum empty. Ask when school groups usually arrive and whether it is quieter at opening, at lunch, or late afternoon.
Bring supports your child already uses. Do not count on the museum having the exact item you need.
Quick checks
- Look for a sensory map, visual story, or quiet room.
- Ask when school groups arrive and which hour is quieter.
- Bring familiar supports your child already uses.
Guide 7
Check the route through the building
If you are bringing a stroller, confirm elevators, stroller parking, and whether crowded rooms allow strollers inside. Check bathrooms, changing tables, nursing or feeding space, and whether food is limited to a café or a designated area.
Also check the walk from parking or transit. A museum can be stroller-accessible inside and still require a long uncovered walk from the garage.
For a toilet-training child, find the bathroom before the first exhibit. The nearest bathroom matters more than how many the building has.
Quick checks
- Confirm elevators, stroller parking, and room rules.
- Check changing, feeding, bathroom, and food locations.
- Include the walk from parking or transit in the route.
Guide 8
When another outing is better
Choose a library, a small indoor play space, or a short park visit when the museum’s best exhibits are above your child’s age, ticket rules make a short visit expensive, the building is hosting large groups, or the drive and parking take longer than the useful time inside. A children’s museum is most useful when you need hands-on indoor play, reliable bathrooms, and a change from home.
If those are not what you need today, skip the ticket.
Quick checks
- Skip when the best exhibits are above your child’s age.
- Use another option when tickets or parking make a short visit too expensive.
- Choose a library or small play space when crowds and transitions are the problem.
Choose without scrolling forever
- 1
Match the actual exhibit rooms to your child’s age and interests.
- 2
Add adult tickets, parking, food, and special fees.
- 3
Choose the first room and a realistic visit length.
- 4
Check sensory support, bathrooms, stroller rules, and re-entry.
- 5
Use one second room only if the family still has energy.
Before you leave the house
- Current hours and closures checked
- Tickets, age pricing, and special-exhibit fees confirmed
- Discounts, passes, or eligibility checked
- First exhibit chosen
- Toddler or baby zone checked if needed
- Sensory supports and quiet space checked if needed
- Parking, stroller route, and elevators checked
- Bathrooms, changing, and food rules confirmed
- Re-entry and exit plan confirmed
Frequently asked questions
What is the best age for a children’s museum?
It depends on the exhibits. Many work from toddler through elementary ages. Check the actual age zones because a protected baby area, a pretend-play room, and a school-age maker exhibit serve very different children.
Are children’s museums good for toddlers?
They can be when there are low hands-on exhibits, a protected toddler area, nearby bathrooms, and an easy exit. Check school-group times and whether older children share the same space.
How long should we stay?
For toddlers and preschoolers, sixty to ninety minutes can be plenty. Older children may stay longer if there is a challenge, a maker area, or several rooms that fit.
How can I visit for less?
Check library museum passes, community free days, age-based free admission, memberships, and Museums for All. Confirm current rules with the museum.
What should I bring?
Bring water, a small snack if permitted, spare clothes for water or art areas, wipes, and any familiar sensory support. Pack lightly enough to move through crowded rooms.
What should I check before visiting with a stroller?
Check the parking route, entrance, elevators, stroller parking, crowded-room rules, bathrooms, changing tables, and whether strollers are allowed in the exhibits you plan to use.